A Beginner’s Guide to Installing LED Flat Panels
Do you remember the time when LED lights revolutionized the lighting industry? Well, we sure do! LED lights installation was instantly adopted by the people because of their energy efficiency and long life. Soon the market was swarmed by various types of LED lights which made the product even more famous and well-established against its competitors, incandescent, and fluorescent lights. LED lights offer you an energy-efficient solution for your home's energy plan and offer various options which can be employed to incorporate artistic and stylish lighting effects. LED panels are one such category of LED lights.

Why LED Panels?
LED stands for light-emitting diode, which utilizes an advanced semiconductor technology to produce light. LED lights are able to last longer because they do not contain any filament, unlike the incandescent light sources. They are far more efficient and produces more light for lower wattage as compared to older incandescent light sources. LED lighting has made their mark in the industry and has become the most opted light source for residencies, offices, and industries, etc.
LED ceiling panels are one of the most effective alternatives for the traditional grid-based lighting fixtures. This popularity is owing to the characteristics and benefits of LED lighting mentioned before. Our LED panels are produced using efficient and bright LED lighting source which have no UV emissions, hence a good approach towards a green lifestyle. However, installing LED panels can be one hell of a task, and therefore we are here for you to provide you information on various methods of installation.
How to Install LED Panels?
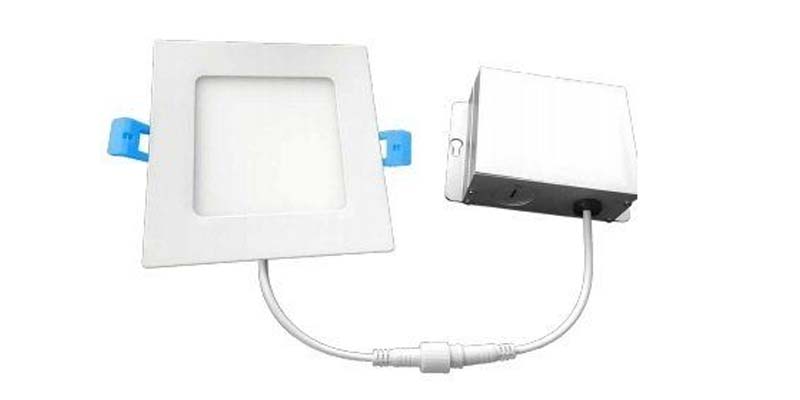
This installation guide goes for all of our flat panels, troffers, and flush mount LED panels. Handle the LED panel with extreme care because it is a very delicate product. The initial step of installation is to read the user guide to understand the various components of the LED panel. Once you are done with it, then comes the second step where you have to decide upon a suitable place to mount the LED panel. The most suitable and effective area would be which is close to the power socket so that the length of wire required for the panel is decreased. Next is to take note of the dimensions and drill holes at appropriate positions to mount the fixture. Further installation can be divided into the following categories:
Ceiling Mounted Installation
This method requires fastening of one clip at the position where the LED panel will be installed and the second clip to the panel. Once you have done so, screw both the clips to the panels with M4x8 screws.
Recessed and Wall-Mounted Installation
This method requires removal of the grid lights and selecting the right replacement which fits the grid. You can search for our products and choose the one that suits your needs and fits the grid.
Suspended Installation
This method requires some professional help to install the LED panel accessories and utilize screws to fix the hanging cables with the roof.


